Showing posts with label outdoor crafts. Show all posts

Monday, July 30, 2012

Playhouse!


Our playhouse is finally finished :) With A LOT of help from PopPop (my dad), it finally became a dream come true for the girls.  I am posting pictures below to show what we've been up to as far as decorating the little play space.  We see this as a work in progress; as we learn new crafts/skills, we will incorporate them into our little fantasy land in the back yard. Enjoy :)


PopPop decided to convert a simple shed structure into the playhouse.  He cut a Dutch door, which is a big hit!

Personalized bunting with felt letters. Here's a tutorial from Pinterest that shows how to make a simple bunting.


This chalkboard is made from left over cement board.  We used tile adhesive to secure 1 inch tiles around the board.


We came across some old Highlights magazines, dated 1979.  The gals cut out pictures and we used a few layers of Mod Podge to cover up this old table.

The gals talked about color schemes and patterned fabric for the table skirt. I taught myself how to do a gather stitch. I used Velcro fasten the skirt to the table, that way it can be easily removed for washing.


Left over fabric from the gals' Easter dresses :) See my Miss Matches blog post for the dress pictures.


Suncatchers made from melted beads..


Dave tries to maintain blazed trails in a part of our yard that would be too sloped, wooded, and otherwise unusable.


Wednesday, June 20, 2012

Summer Nature Sun Catchers

I have been lucky enough to get into cahoots with a brilliant preschool teacher and friend from my neighborhood this summer.  Amy and I have decided to do "Crafts on Wednesdays" at our community-run park.  We meet for an hour each Wednesday and do activities with neighborhood kids.  Not only does it give moms & little ones something to do, but it also draws our close knit community even closer.

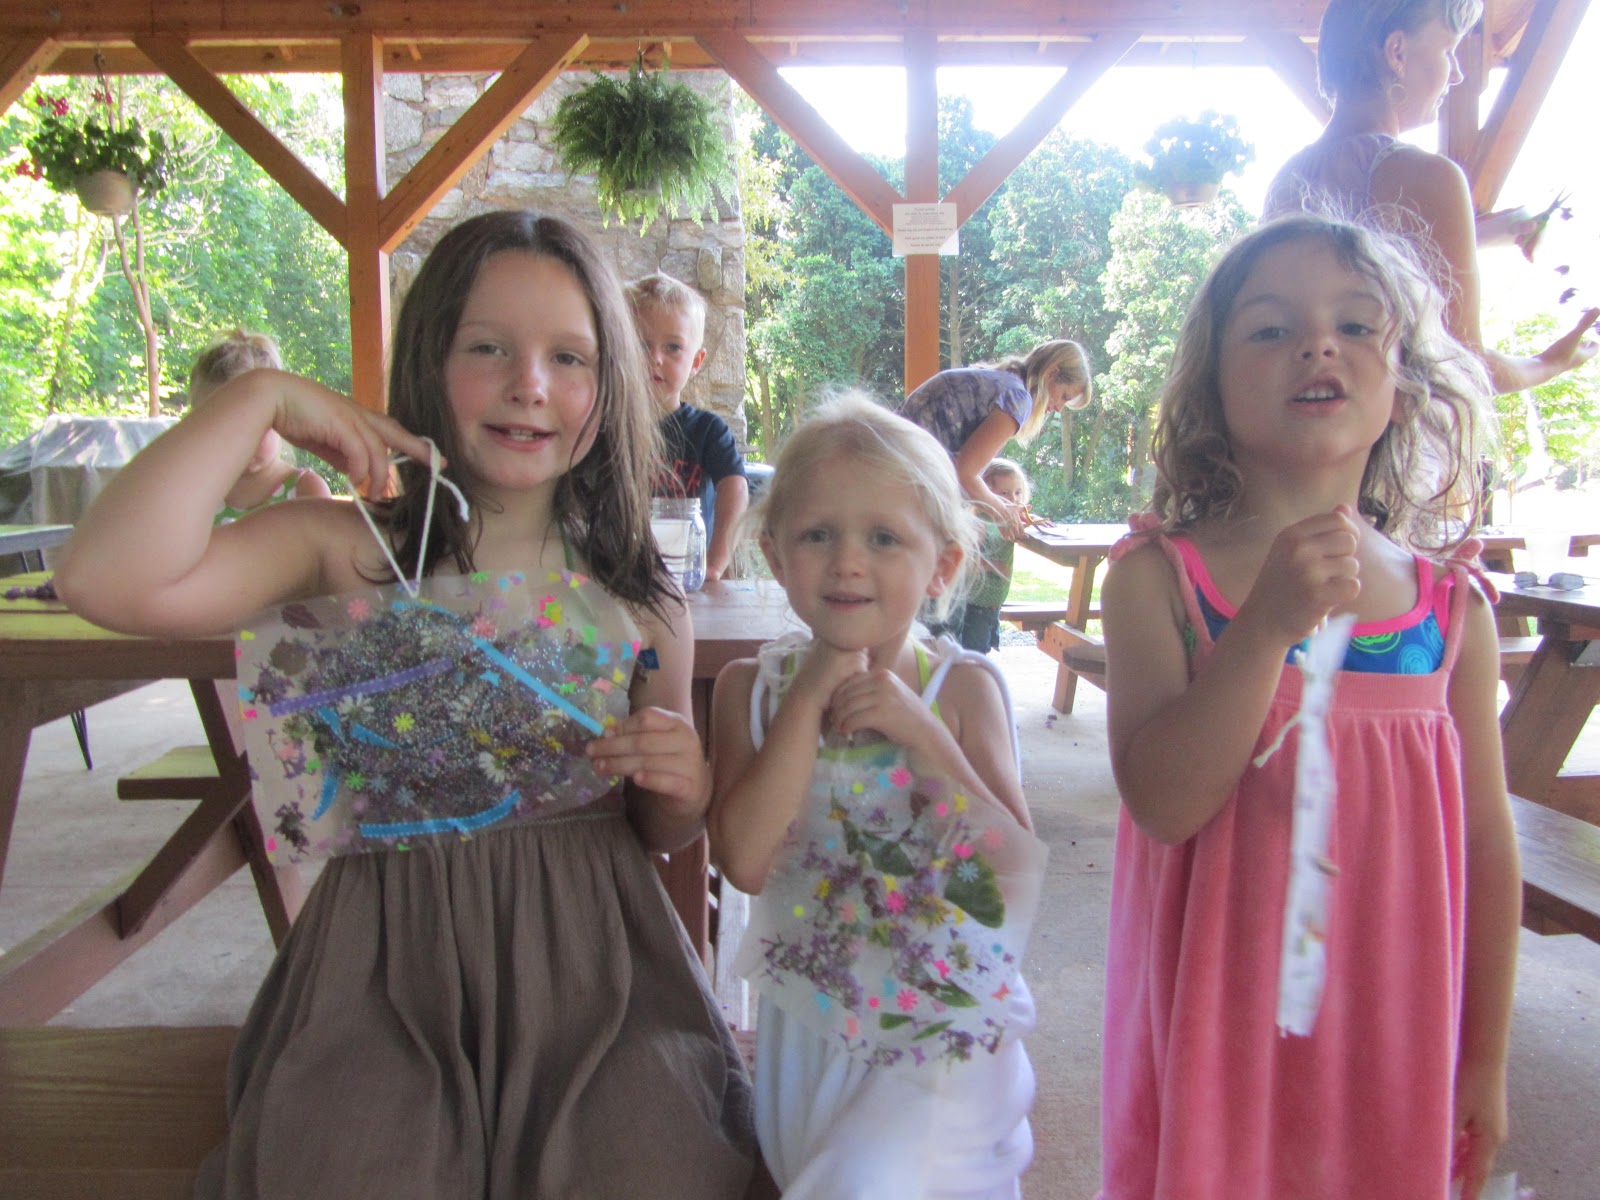
This week we came up with a fantastic idea that I just had to share.  We made nature sun catchers to celebrate the first day of summer.  I always try to keep the gals in tune with the colors of our natural environment and the seasons.  Today we noticed how the pretty pastels of spring give way to the deep, saturated colors of summer.


First we cut sheets of Contact paper.  We measured roughly about a 12x12 piece. Each child gets 2 pieces. We peeled the backing off of one piece and placed it on the table, sticky side up. If the paper keeps rolling back up, try to bend back the 4 corners to stick them to the table.  That will create a flat work space.

Next we sent the kids out into the park to find pieces of "nature"- blades of grass, flower petals, clovers, dandelions, leaves, etc.


After collecting their goods, they arranged them to the sticky side of the paper.
After everything is arranged just so, take the other piece of Contact paper and place the sticky side down on top of the arrangement.  Smooth it over and press out any air bubbles.  Cut your project into any shape you wish, punch a hole through it, and string it with yarn.


We hung some on our deck and of course the gals thought a few would look lovely hanging on the shutters on our front window.

We will also try this for fall and collect different color leaves, pine needles, etc.  It would be fun to compare the two and see how the colors of our mountain world change with the seasons.

Sunday, April 22, 2012

Outdoor Chalkboard


The girls and I created this neat little drawing station in the yard. I saw the idea in a Lowe's ad and slightly revised it to make it a more kid-friendly project.


We took cement board and painted it with black exterior paint (flat finish). I was told this works better outdoors since regular chalkboard paint cracks and peels when exposed to the elements.

A friend of mine showed us how to create alcohol ink tiles.  I cannot believe how easy and fun (and cheap!) this project is with school aged children!  We plan to make these tiles in the future for other projects or gifts. 


Here's the tutorial on her blog A Bird and a Tree After buying the ink set for $10 which we can use many times, the only cost is the tiles at Lowes.  We chose the 4x4 tiles for 16 cents each. 

I used tile adhesive to arrange the tiles around the cement board.


And here is our finished outdoor chalkboard.